Introduction
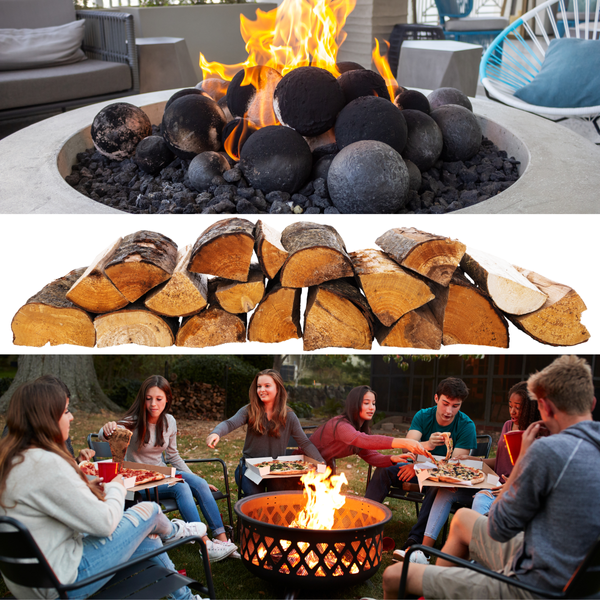
Imagine cozying up to a warm fire in your backyard, roasting marshmallows, or simply enjoying the flickering flames under the starry sky. Sounds inviting, right? Well, you can create this cozy gathering spot in your own backyard by building a fire pit. The DIY fire pit ideas in this comprehensive guide will walk you through all aspects of fire pit creation, from the necessary tools to safety concerns. So, let's get started!
Safety Measures and Local Regulations
Before we get started with the actual building process, it’s crucial to discuss safety measures. Your own fire pit can be a great source of joy, but if not handled correctly, it can also pose significant risks. Your local fire or police departments will know the rules and will help you make sure you're safe.
Check Local Regulations:
Some areas have specific rules about fire pits. Check with your local authorities or homeowners association to ensure you comply with all regulations. Also check your homeowner's insurance coverage, as there may be a claim denial if there is an issue and the policy doesn't cover fire pits. (This happens a lot with trampolines!)
Choose a Safe Location:
Your in-ground fire pit should be at least 10 feet away from any structures, including your house and fence. Avoid overhanging trees and shrubs.
Ventilation:
This is absolutely key when you build a fire pit! Make sure there's enough ventilation for the smoke to escape, especially if you're considering a built-in fire pit.

Tools and Materials You’ll Need
Building a fire pit requires some specific tools and materials. Here's a detailed list:
Bricks and Fire Bricks:
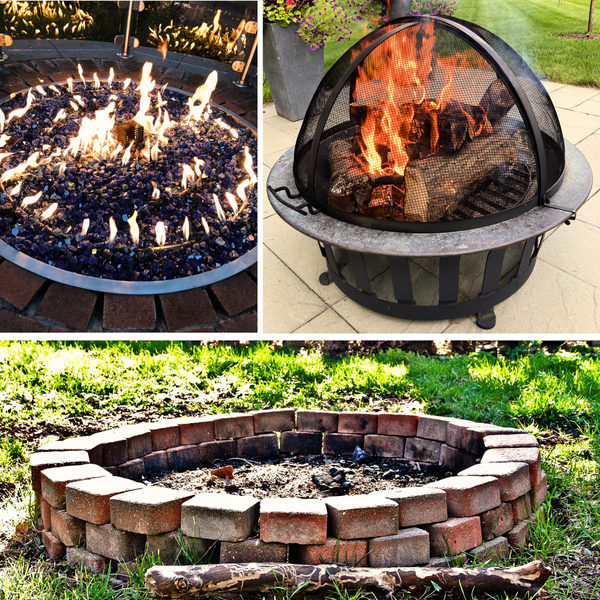
Bricks form the outer wall of the fire pit, while fire bricks line the inner wall to withstand high temperatures. Keep in mind that while bricks provide a classic look, they can crack under intense heat.
A natural stone fire pit can project a rustic feel and holds up well to high heat, but stone is challenging to lay evenly as you build.
Many people also use retaining wall blocks or concrete landscaping stones. These are easily available at your local building supply store such as Home Depot or Lowes.
Construction Adhesive:
This is used to bond the bricks together. Be sure to use one that is resistant to high heat, or is specifically made for fire pit construction.
Shovel and Large Level:
To dig out the fire pit area and be certain that the dig area is level.
Steel Tape, Stakes, String and Mallet:
These tools are used to mark out and measure your fire pit.
Leveling Sand:
This helps to create a level base for your fire pit.
Gloves:
Protect your hands when handling bricks and other materials.
Spray Paint:
To mark the area of your fire pit.
Fire Pit Ring:
This metal ring serves as a sturdy liner for the fire pit. It also protects the cinder blocks as well as helps define the shape of your DIY firepit.
Drainage Gravel:
Placed at the bottom of the pit for proper drainage.

Each tool and material plays a vital role in the construction process. For instance, the construction adhesive provides a strong bond between the bricks, ensuring stability. The fire pit ring serves as a heat shield for the bricks, prolonging their lifespan, as well as supporting the fire pit walls.
The Building Process
Creating a fire pit involves several steps. Here's a breakdown:
Choose the Location: Your fire pit should be at least 10 feet away from any structures, including your house and fence. Avoid overhanging trees and shrubs.
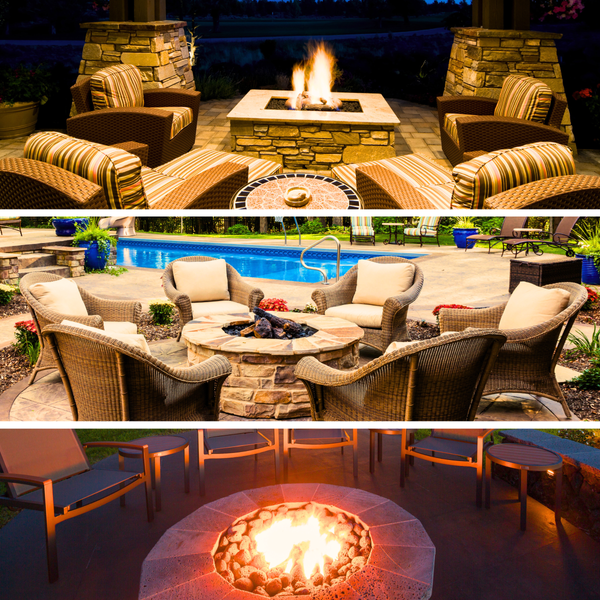
Seating Area: Consider adding a seating area around your fire pit for added comfort and convenience. Keep in mind that you will need to plan for enough space when you locate your fire pit center.
You will also need to re-calculate for any leveling and base layer materials for the seating area. A base layer of leveling sand, topped with a nice style of smooth, decorative pea gravel or stone adds a high-end touch. A row of Adirondack chairs is perfect for a warm night at the fire pit.

Mark the Center: Use a stake to mark the center of your fire pit. That's pretty straightforward, but I am assuming you're creating circular fire pits.
Outline the Area: Tie a string half the length of your fire pit's diameter to the stake and use spray paint to mark the area.
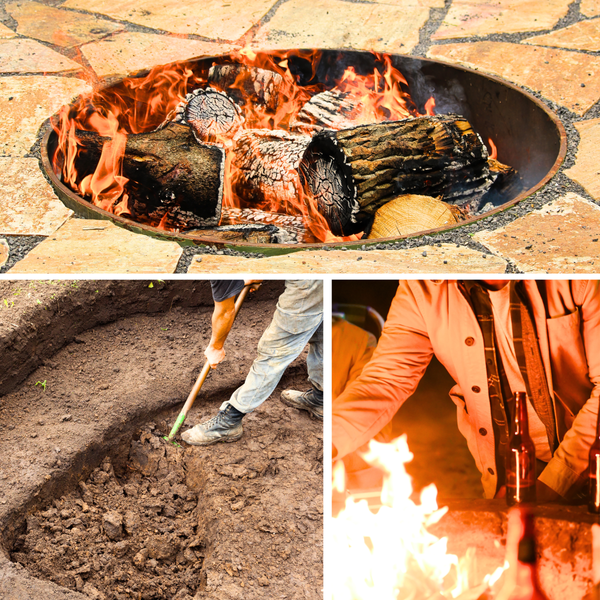
Dig the Pit: Dig about 2 feet deep within the marked area. Ensure the base is level.
Lay the Landscaping Sand and Gravel: Cover the bottom with landscaping sand, followed by a layer of gravel or lava rocks for drainage.
Install the First Layer of Bricks/Stones: Using your gloves for protection, start laying out your bricks. Check each brick with the level to ensure they're even.
A Note On Ventilation: Make sure to leave small gaps (about 1-2 inches) between some bricks for ventilation. These gaps should be evenly spaced around the pit. The placement and size of the ventilation gaps can significantly affect the performance of your fire pit. Too few or too small gaps may not provide sufficient airflow, while too many or too large gaps can make your fire pit lose heat too quickly.
Add the Fire Pit Ring: Place the fire pit ring in the center of the brick layers.
Add More Layers: Add more layers of bricks, using construction adhesive to hold them together.
Finish with Fire Bricks: Line the inner wall of the fire pit with fire bricks.
The Best Types of Wood for Fire Pits
When choosing wood for your fire pit, you want something that burns hot, long, and clean. Here are some top picks:
Oak: Known for its high heat output and long burn time, oak is an excellent choice for fire pits. It's dense and heavy, meaning it burns slower and produces consistent heat.
Hickory: Similar to oak, hickory burns hot and slow, making it perfect for a long, relaxing evening around the fire. It also adds a pleasant aroma.
Ash: Ash wood is easy to split and has a low moisture content, making it ideal for burning. It ignites quickly and burns steadily, producing a good amount of heat.
Maple: Both hard and soft varieties of maple are great for fire pits. They burn efficiently and produce a nice, warm flame.
Birch: While birch doesn’t burn as long as oak or hickory, it catches fire easily and gives off a good amount of heat. Plus, the bark of birch trees creates a unique, crackling sound that many enjoy.

Types of wood to avoid
Not all wood is created equal, and some types can be harmful or inefficient when burned in a fire pit:
Softwoods: While softwoods like pine and cedar can burn well, they tend to crackle and pop, throwing sparks out of the fire pit. They also contain high sap and resin content, which can create a lot of smoke and potentially damage your fire pit over time.
Pressure-Treated or Painted Wood: These types of wood often contain chemicals that can be harmful when burned. They can release toxic fumes and leave behind harmful residues.
Green or Wet Wood: Freshly cut, or "green," wood has high moisture content and does not burn efficiently. It produces a lot of smoke and very little heat, making it unsuitable for fire pits.
Fire Pit Sensibility and Safety
Last but certainly not least, safety should always be paramount when dealing with fire. Here are some tips:
Lighting and Extinguishing the Fire Safely
Be Smart: When lighting your fire pit, never use accelerants such as gasoline or lighter fluid. Instead, use a commercial fire starter stick or a long match. Keep the fire small and manageable, and never leave it unattended.
Stay Until The End: Extinguish the fire completely before leaving the area. Use water to douse the flames and stir the ashes to ensure all embers are put out.
Use a Spark Screen: This can help contain sparks and embers, preventing them from escaping the pit.
Have Fire Extinguishing Materials Handy: Always have a bucket of sand, a garden hose, or a fire extinguisher nearby when you're using the fire pit. Many times a hot cinder has popped out of a fire pit and can burn or start a fire on outdoor furniture or other flammable materials.

Maintaining and Cleaning the Fire Pit
Regular maintenance and cleaning can significantly enhance your fire pit's safety. Remove ash and debris after each use once the pit has cooled down. Inspect the pit regularly for any damage, especially if you have a metal fire pit that could rust.
Building a fire pit in your backyard is a rewarding project that can provide countless hours of enjoyment. With careful planning, the right materials, and due attention to safety, you'll have a cozy gathering spot to enjoy for years to come.
A Final Punch List
Fire pits can provide warmth, ambiance, and a great location for social gatherings in your backyard. However, it's essential to prioritize safety alongside enjoyment. By choosing the right location and materials, following best practices for lighting and extinguishing fires, and maintaining your fire pit, you can build a really nice fire pit and enjoy countless cozy evenings by the fire, free of worry.
Remember, fire safety is everyone's responsibility. Always keep these guidelines in mind whenever you're enjoying your outdoor fire pit. Here's to many safe and memorable nights around the fire!
Note: This guide is for informational purposes only. Always consult with a professional if you're unsure about any step.
Be sure to also check with your local fire prevention authorities for any additional safety regulations.


