Grilling is an art, and like any good artist, you need to prep your canvas before creating your masterpiece. Seasoning your grill is the essential first step to ensure your food is flavorful and your grill lasts longer. Whether you've just purchased a brand new grill or you're looking to maintain your trusty barbecue companion, this guide will walk you through the seasoning process.
Key Takeaways:
- Seasoning your grill creates a nonstick surface and protects it from rust.
- Use high smoke point oils like canola, avocado, or peanut oil for effective seasoning.
- The seasoning process involves coating, heating, and cooling the grill grates.
Preparing Your New Grill
Before you start the seasoning process, it's important to clean your brand new grill. Remove any stickers, packaging materials, or manufacturing process residues. Wash the grates with soapy water to remove any other debris. This ensures that your food seasoning won't mix with any unwanted substances.
Once the grill grates are clean, let them dry completely. This is crucial because water can cause rust, and you want to start with a completely dry surface before applying oil.
Choosing the Right Oil
The key to a successful seasoning lies in the oil you choose. High smoke point oils such as canola oil, avocado oil, or peanut oil are ideal because they can withstand high temperatures without burning. Oils like coconut oil and sunflower oil are also great options due to their high smoke points.
Avoid using oils with low smoke points, as they can burn easily, creating an unpleasant taste and potentially damaging the nonstick surface you're trying to create.
Applying the Oil
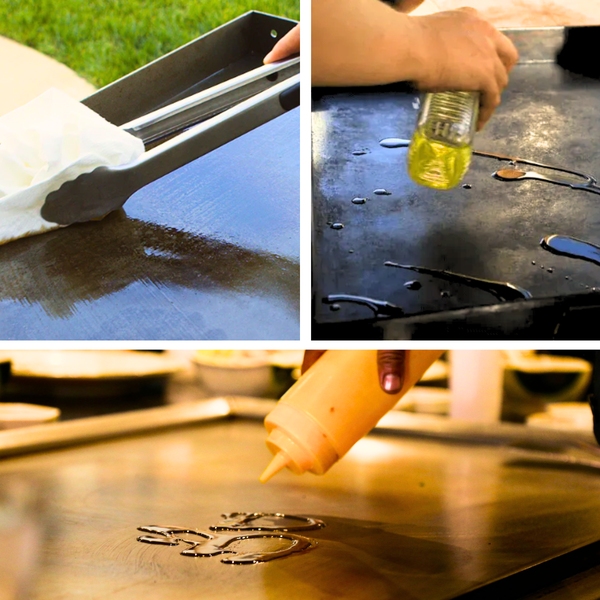
To properly season your grill, you'll need to apply a thin, even layer of your chosen oil to the grates. You can use a spray bottle for an even mist or dip a paper towel or soft cloth in oil and rub it across the grates. Ensure you cover the entire surface, but avoid leaving excess oil, as this can lead to flare-ups and uneven seasoning.
Remember to oil all parts of the grates, as the goal is to create a protective barrier against rust and food particles.
Heating Your Grill
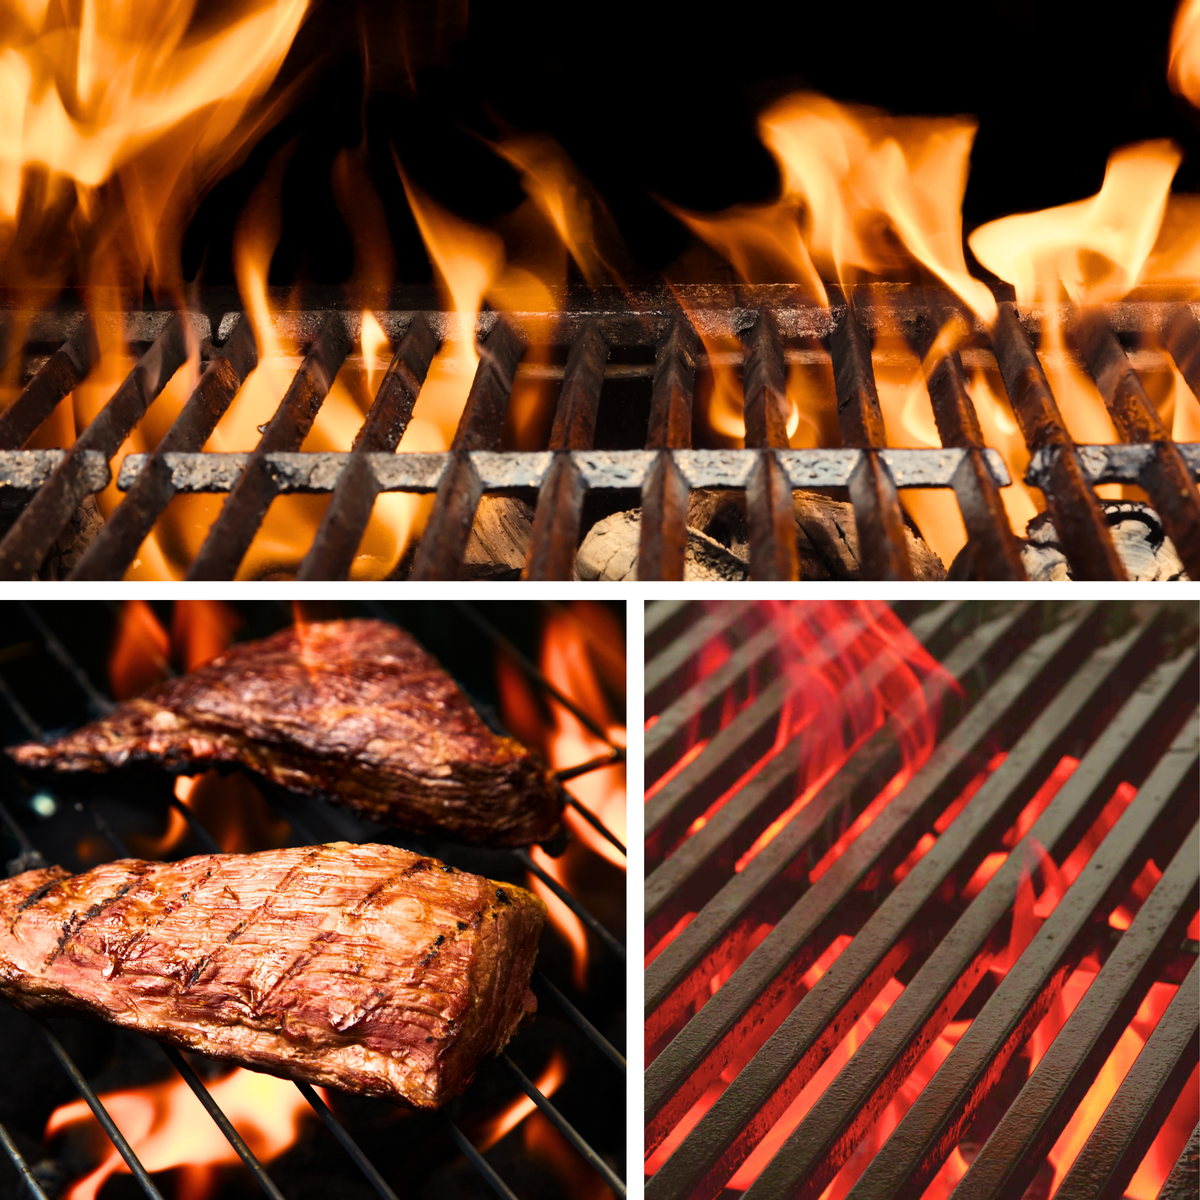
After oiling the grates, it's time to turn the grill on. For a gas grill, set it to medium heat; for a charcoal grill, wait until the coals are at medium heat. The goal is to heat the oil until it smokes, which indicates that it's bonding to the metal, creating that coveted nonstick surface.
Keep the grill at this temperature for at least two hours. This allows the oil to polymerize and form a solid layer over the steel grates.
The Cooling Process
Once the grill has been heated for the appropriate amount of time, turn off the heat and let the grill cool completely. This is an important step in the seasoning process, as it allows the newly formed protective layer to harden and set.
Do not rush this step by trying to cool the grill with water or by moving it to a cooler location. Patience is key to ensuring the seasoning sets properly.
Maintaining Your Seasoned Grill
After each grilling session, it's important to maintain the seasoning on your grill. While the grill is still warm, use a wire brush to remove any food particles. Then, wipe the grates with a paper towel coated in a high heat oil to replenish the protective layer.
Regular maintenance will prolong the life of your grill and the effectiveness of the nonstick surface, making your grilling sessions more enjoyable and your food more delicious.
Seasoning Cast Iron Grates
If your grill has cast iron grates, the seasoning process is slightly different. Cast iron requires a thicker coating of oil due to its porous nature. Repeat the oiling and heating process a few times to build up a strong seasoning layer.
Cast iron grates benefit from oils like coconut oil, which have high smoke points and can create a durable seasoning layer that withstands high heat and repeated use.
Seasoning Pellet Grills
Pellet grills also need to be seasoned, but the process may vary slightly due to their design. Follow the manufacturer's instructions for the initial burn-in, and then apply oil to the grates and heat as you would with other grills.
The key to seasoning pellet grills is to ensure that the oil is heated evenly across the grates, creating a uniform nonstick surface.
Seasoning for Different Types of Cooking
The type of cooking you plan to do can also influence how you season your grill. For high heat cooking, like searing steaks, you'll want a robust seasoning layer that can withstand intense temperatures.
For lower temperature cooking, such as smoking or slow grilling, the seasoning layer is still important, but it doesn't need to be as thick. Adjust your seasoning process accordingly to suit your grilling style.
When to Re-Season Your Grill
Over time, the seasoning on your grill may start to wear off. If you notice food sticking to the grates or if the grates begin to show signs of rust, it's time to re-season.
The re-seasoning process is the same as the initial seasoning: clean the grates, apply oil, heat the grill, and let it cool. Regular maintenance will reduce the frequency of re-seasoning needed.
Summary
Seasoning gas grills is a simple yet crucial step in ensuring the longevity of your grill and the quality of your food. By choosing the right oil, applying it correctly, and heating your grill to the right temperature, you create a nonstick surface that makes cooking and cleanup a breeze. Regular maintenance will keep your grill in top condition, ready for whatever grilling season throws at it.
FAQ Section
Q: How often should I season my grill?
A: Season a new grill before the first use and re-season it whenever you notice food sticking or signs of rust. Regular maintenance after each use will keep the seasoning in good condition.
Q: Can I use any type of oil to season my grill?
A: It's best to use oils with high smoke points, such as canola, avocado, or peanut oil, to prevent burning and ensure a durable nonstick surface.
Q: What should I do if my grill grates have rusted?
A: If rust occurs, remove it with a wire brush, clean the grates with soapy water, dry them thoroughly, and then re-season the grill following the steps outlined in this guide.


